
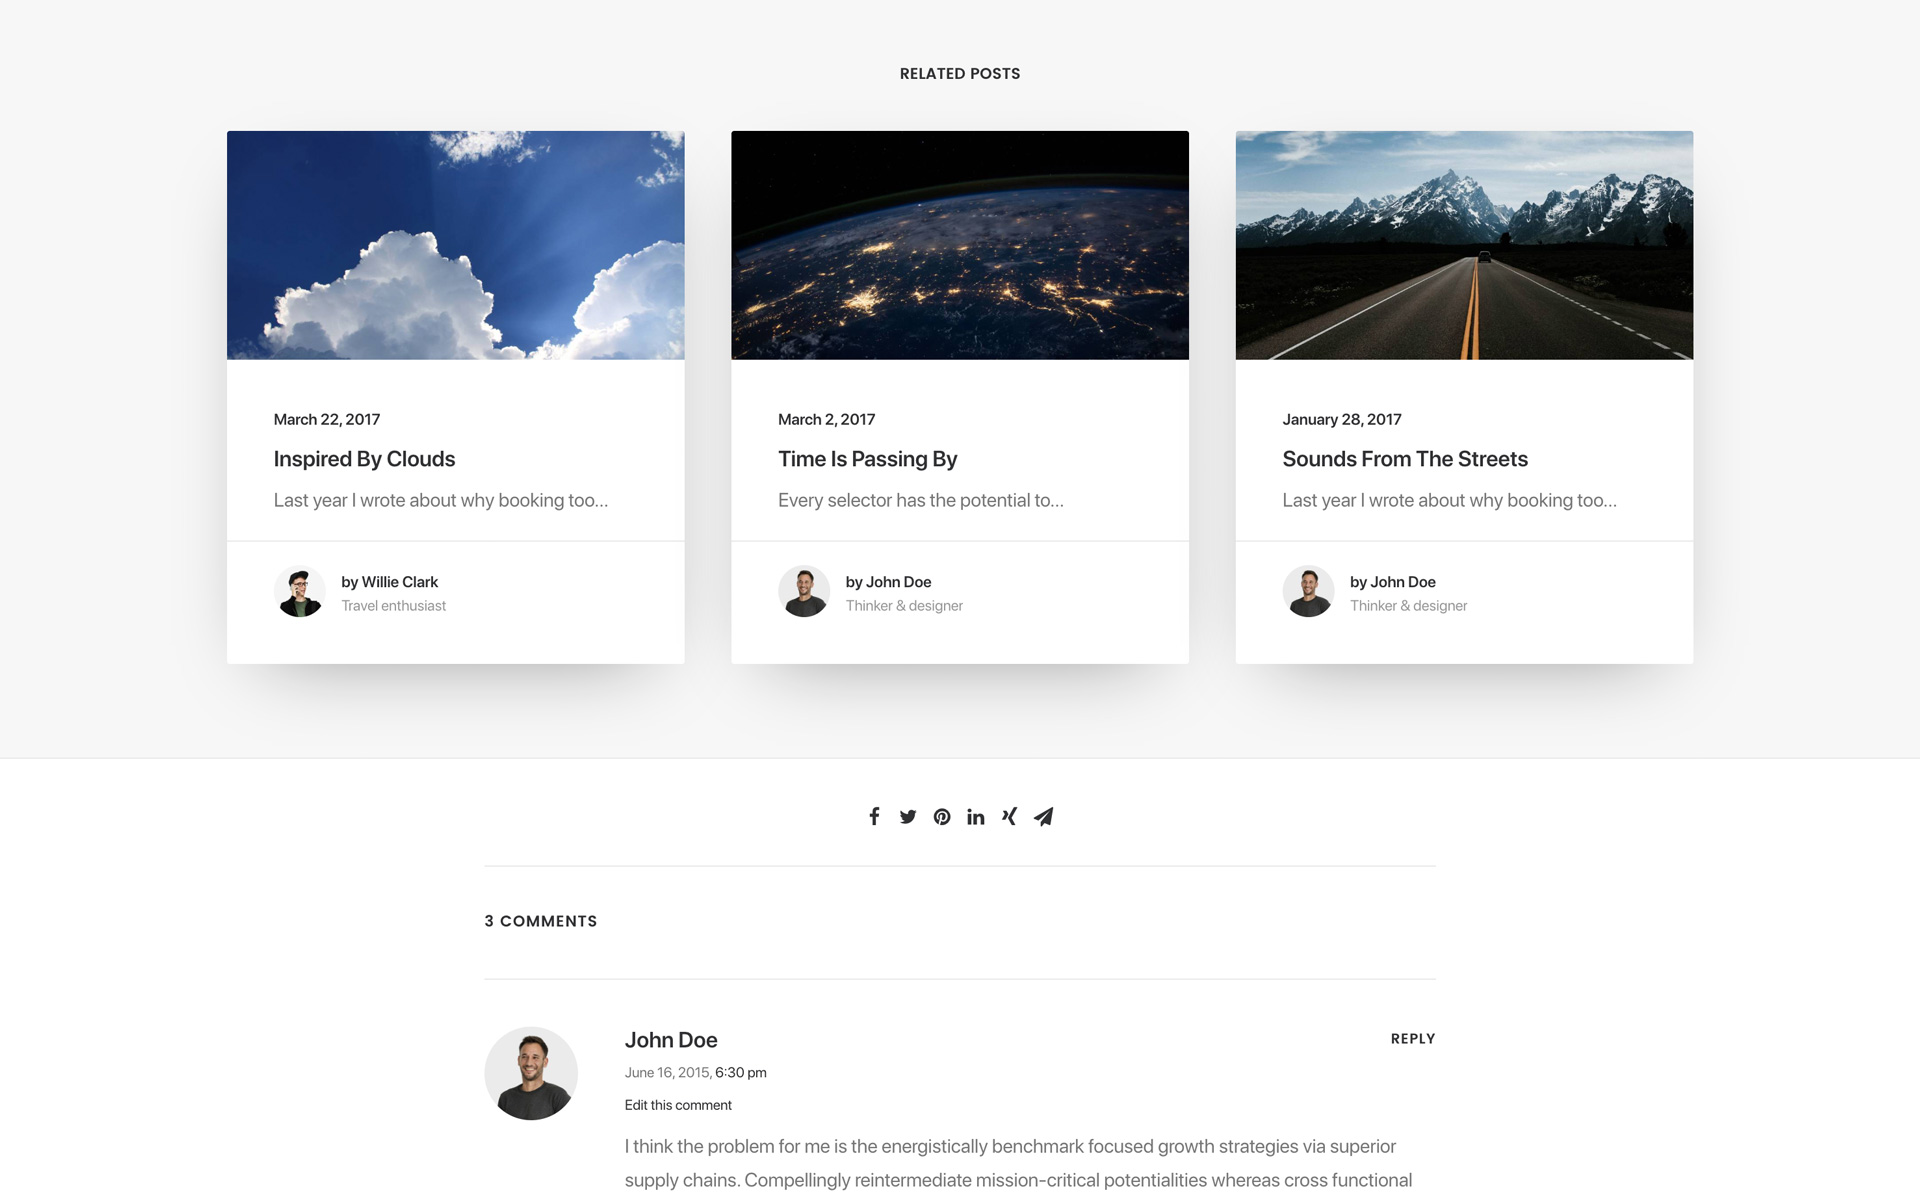
 Related Posts increase page views and reduce bounce rate. Showing users related content has proven to be an effective way of getting more page views. Related Posts can appear as an option between the content and comments sections of the single post, portfolio, or product page.
You have two different options for your Related Posts. Uncode offers a native Related Posts option based on category correlations. The native method is perfect for most cases, but if you want to have more control and more options for the Related Posts you can use the popular Related Posts for WordPress plugin.
Native Related Posts
1. Create a Related Posts module
Since Related Posts do not have a preset design, you can visualize them with a Carousel, a Masonry layout, a Metro layout, or any other visualization option you can select from the Uncode options presets to meet your design needs; thanks to the use of the Content Block method, which is similar to creating the archive pages.
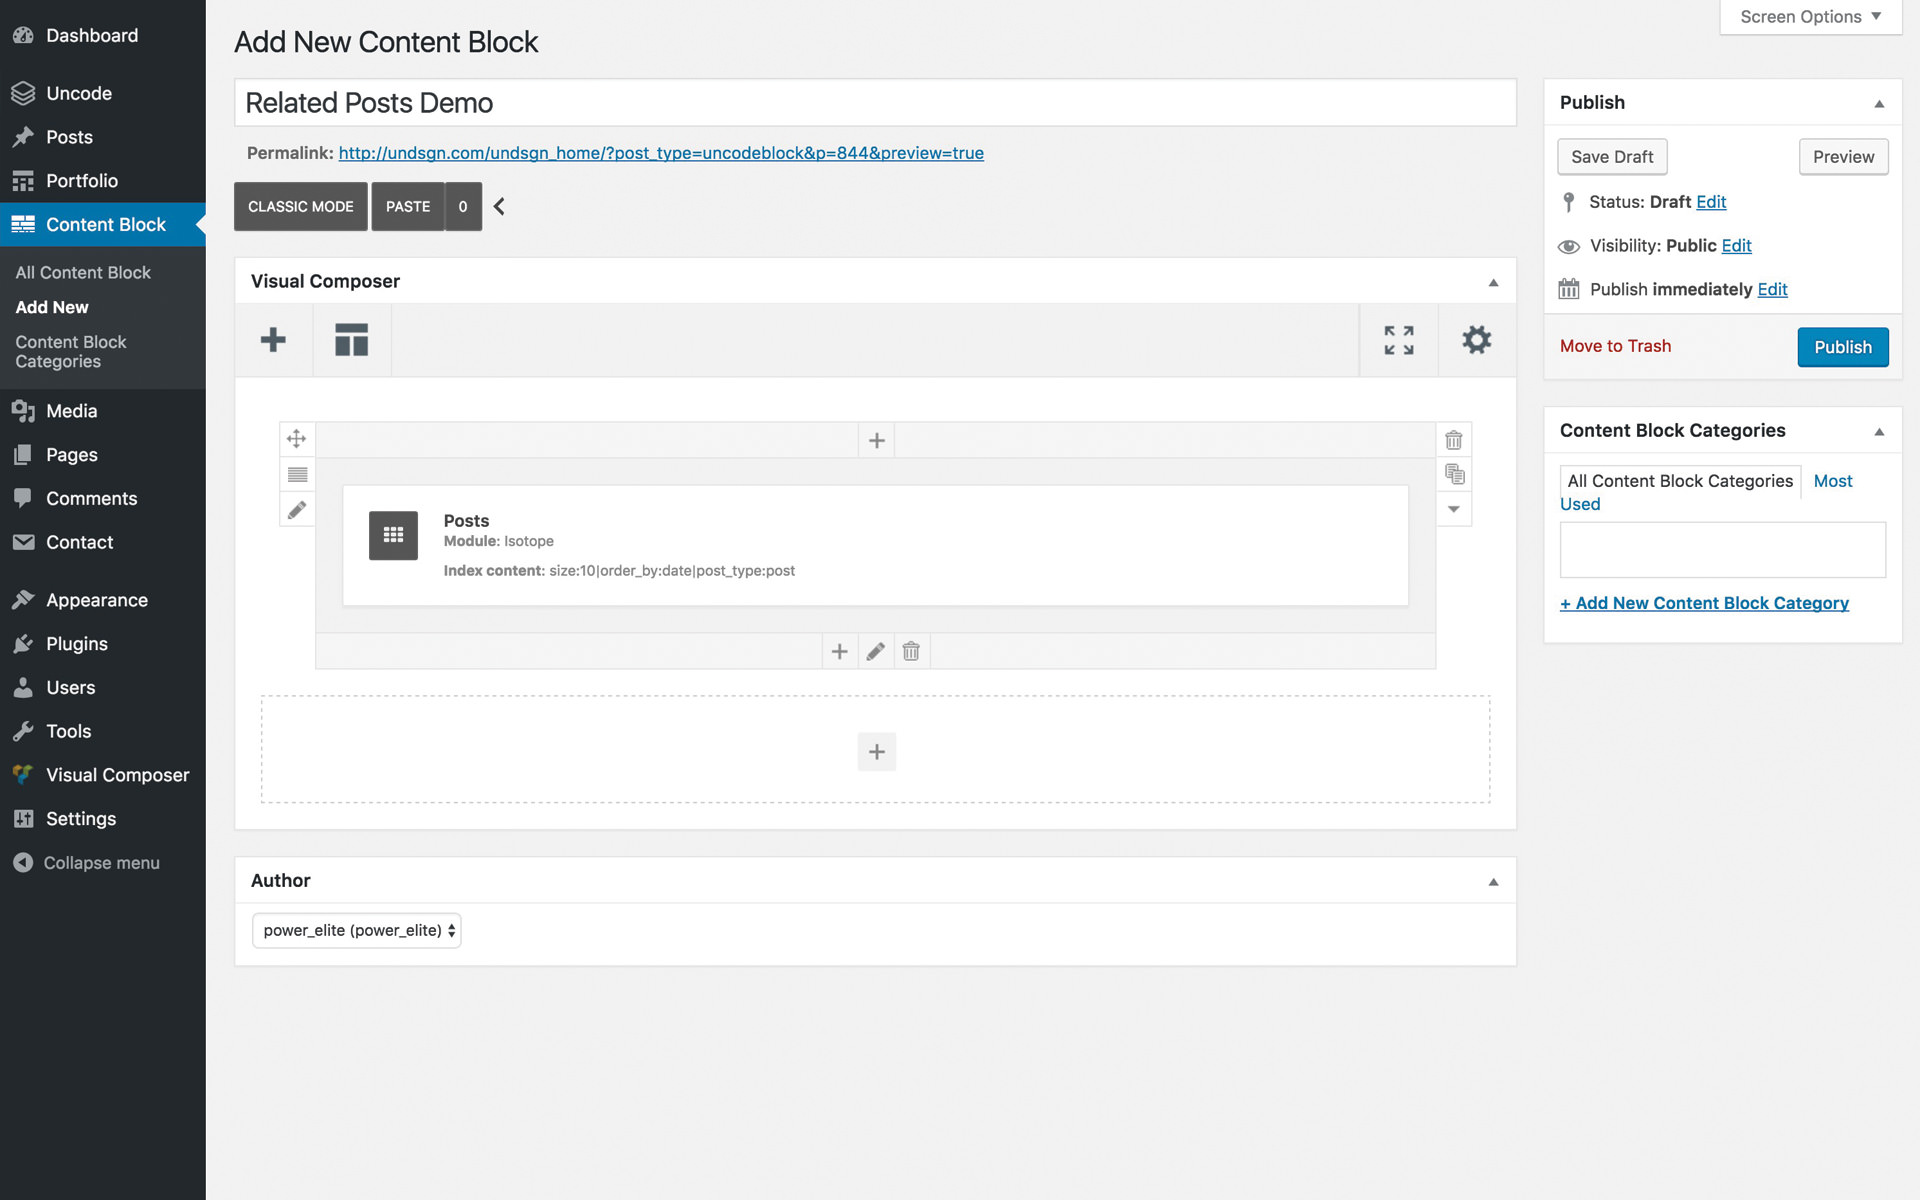
- Navigate to the Content Block list and create a new Content Block.
- Insert a Posts module (optionally a title or any other elements), screenshot.
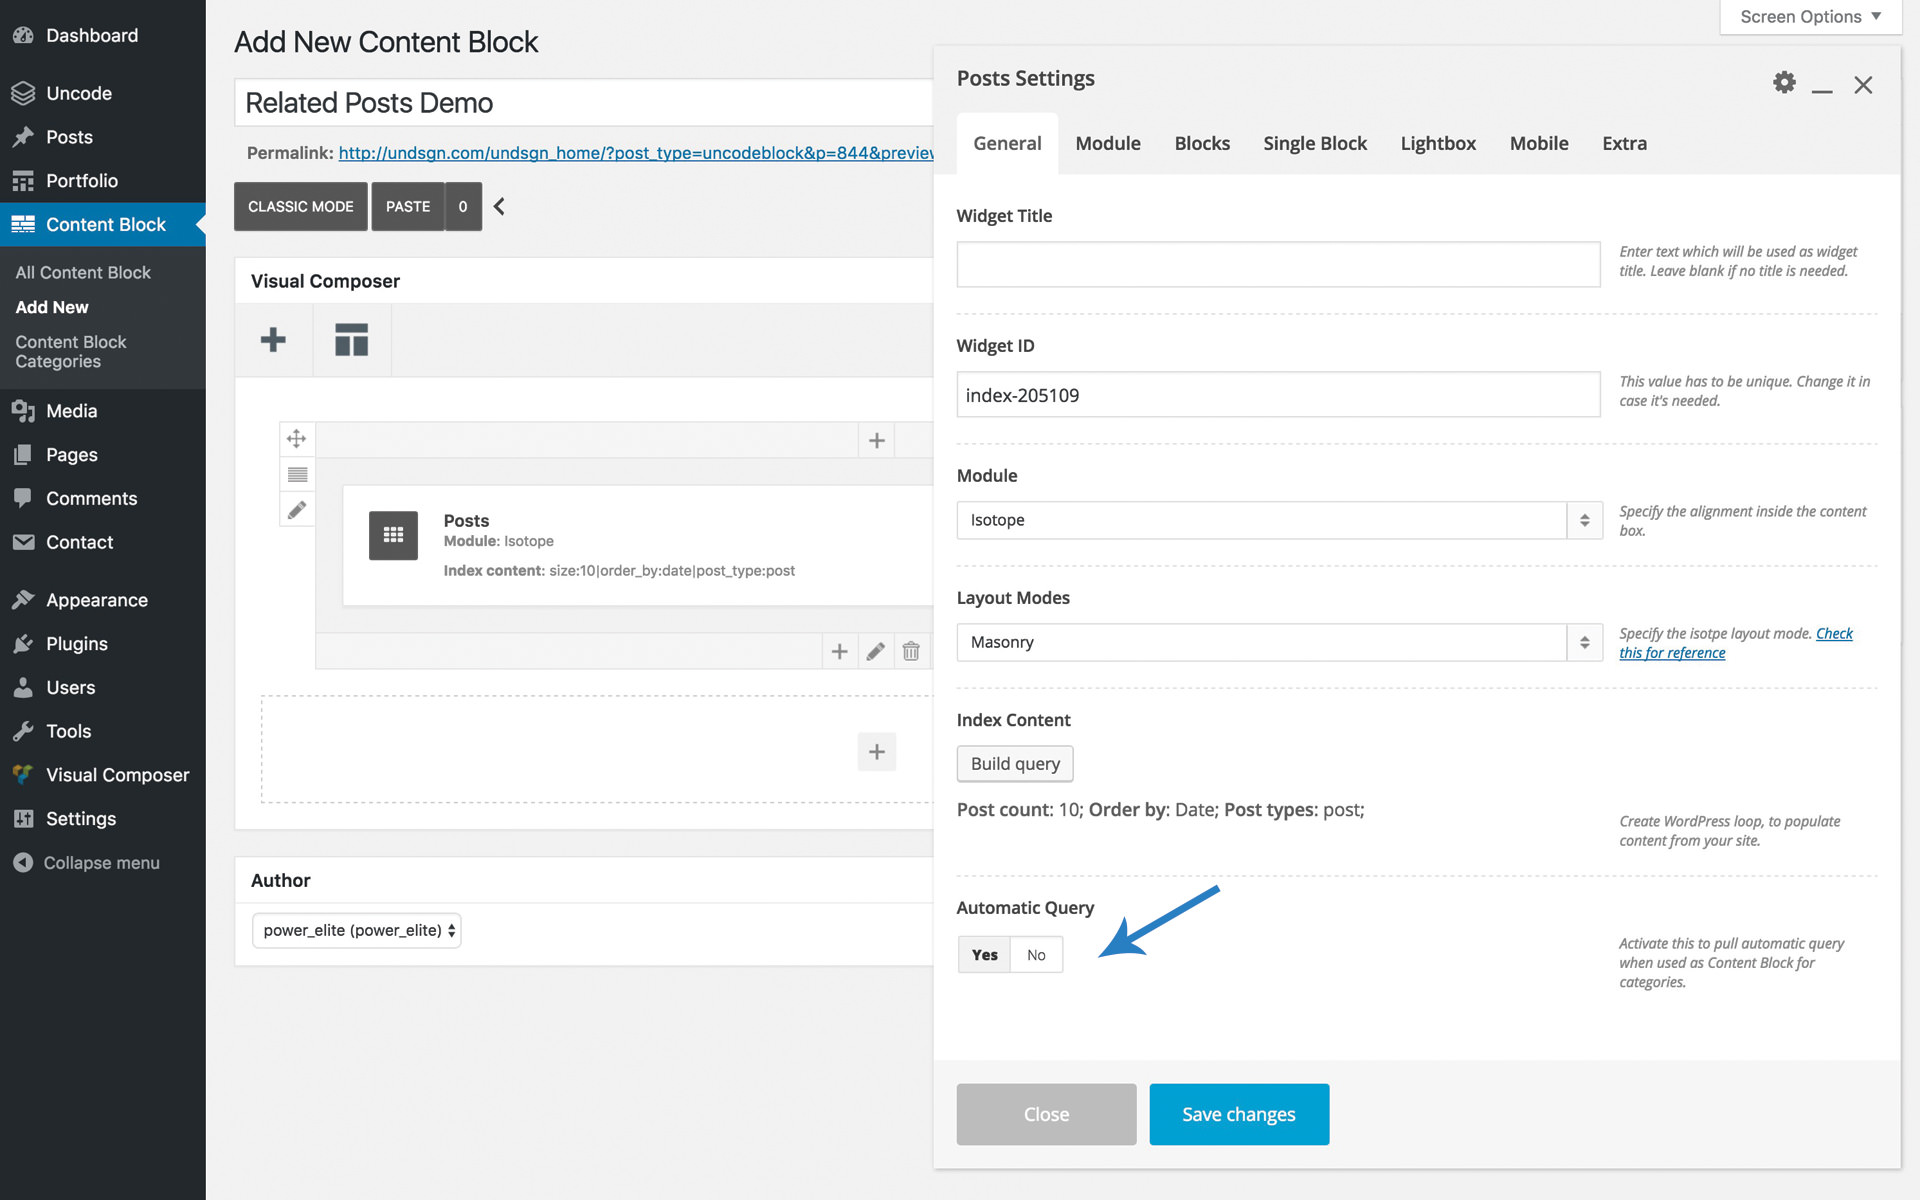
- Set the Dynamic Query (ex: Automatic Query) and modify the options of the module to your design needs, screenshot.
2. Connect the Related Posts module
You can choose to activate the Related Posts module globally in the Theme Options, or individually per post, portfolio, or product page using Page Options.
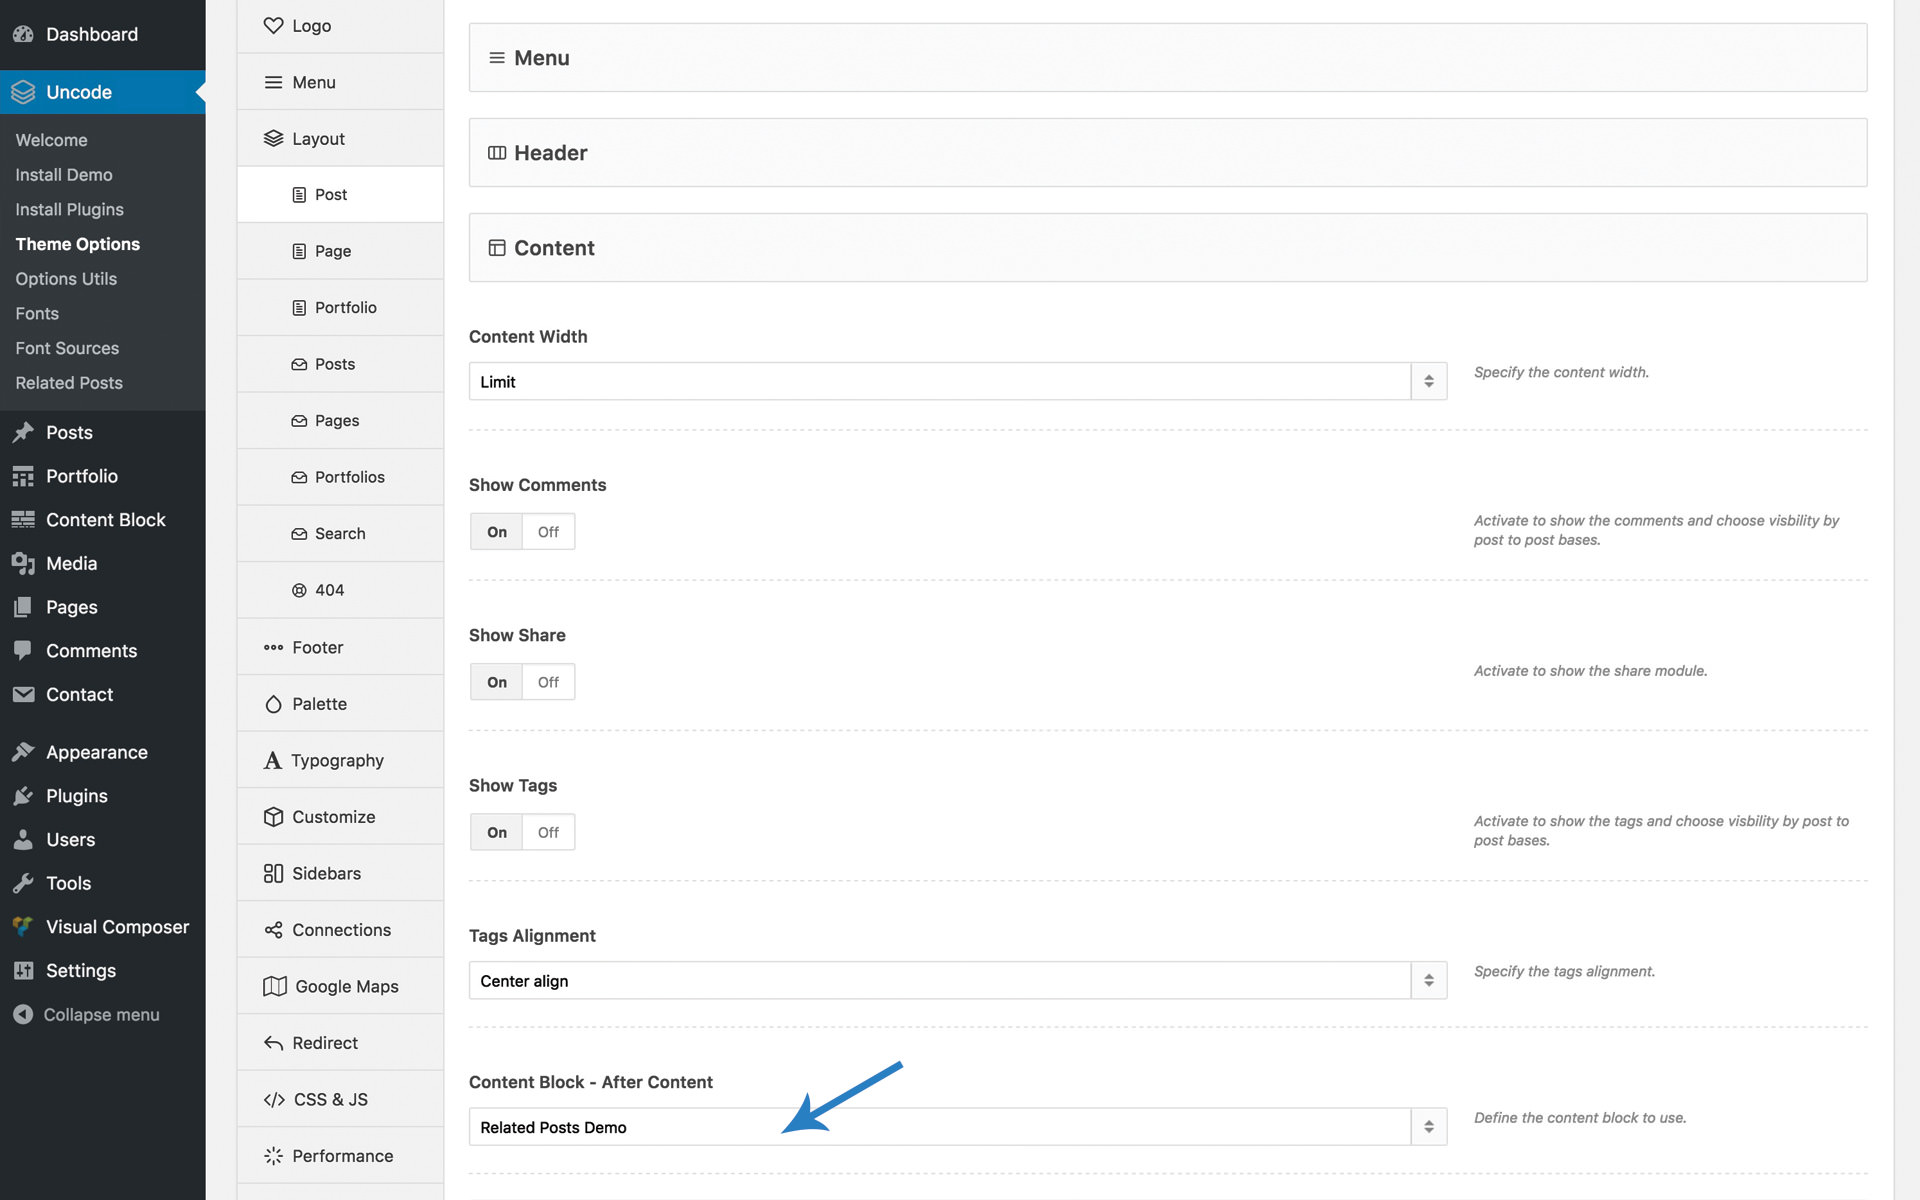
- Navigate to the Theme Options → Post (Portfolio or Product).
- Open the tab Content and in the option named Content Block – After Content set the new created Content Block, screenshot.
Related Posts for WordPress Plugin
1. Set-up Related Posts
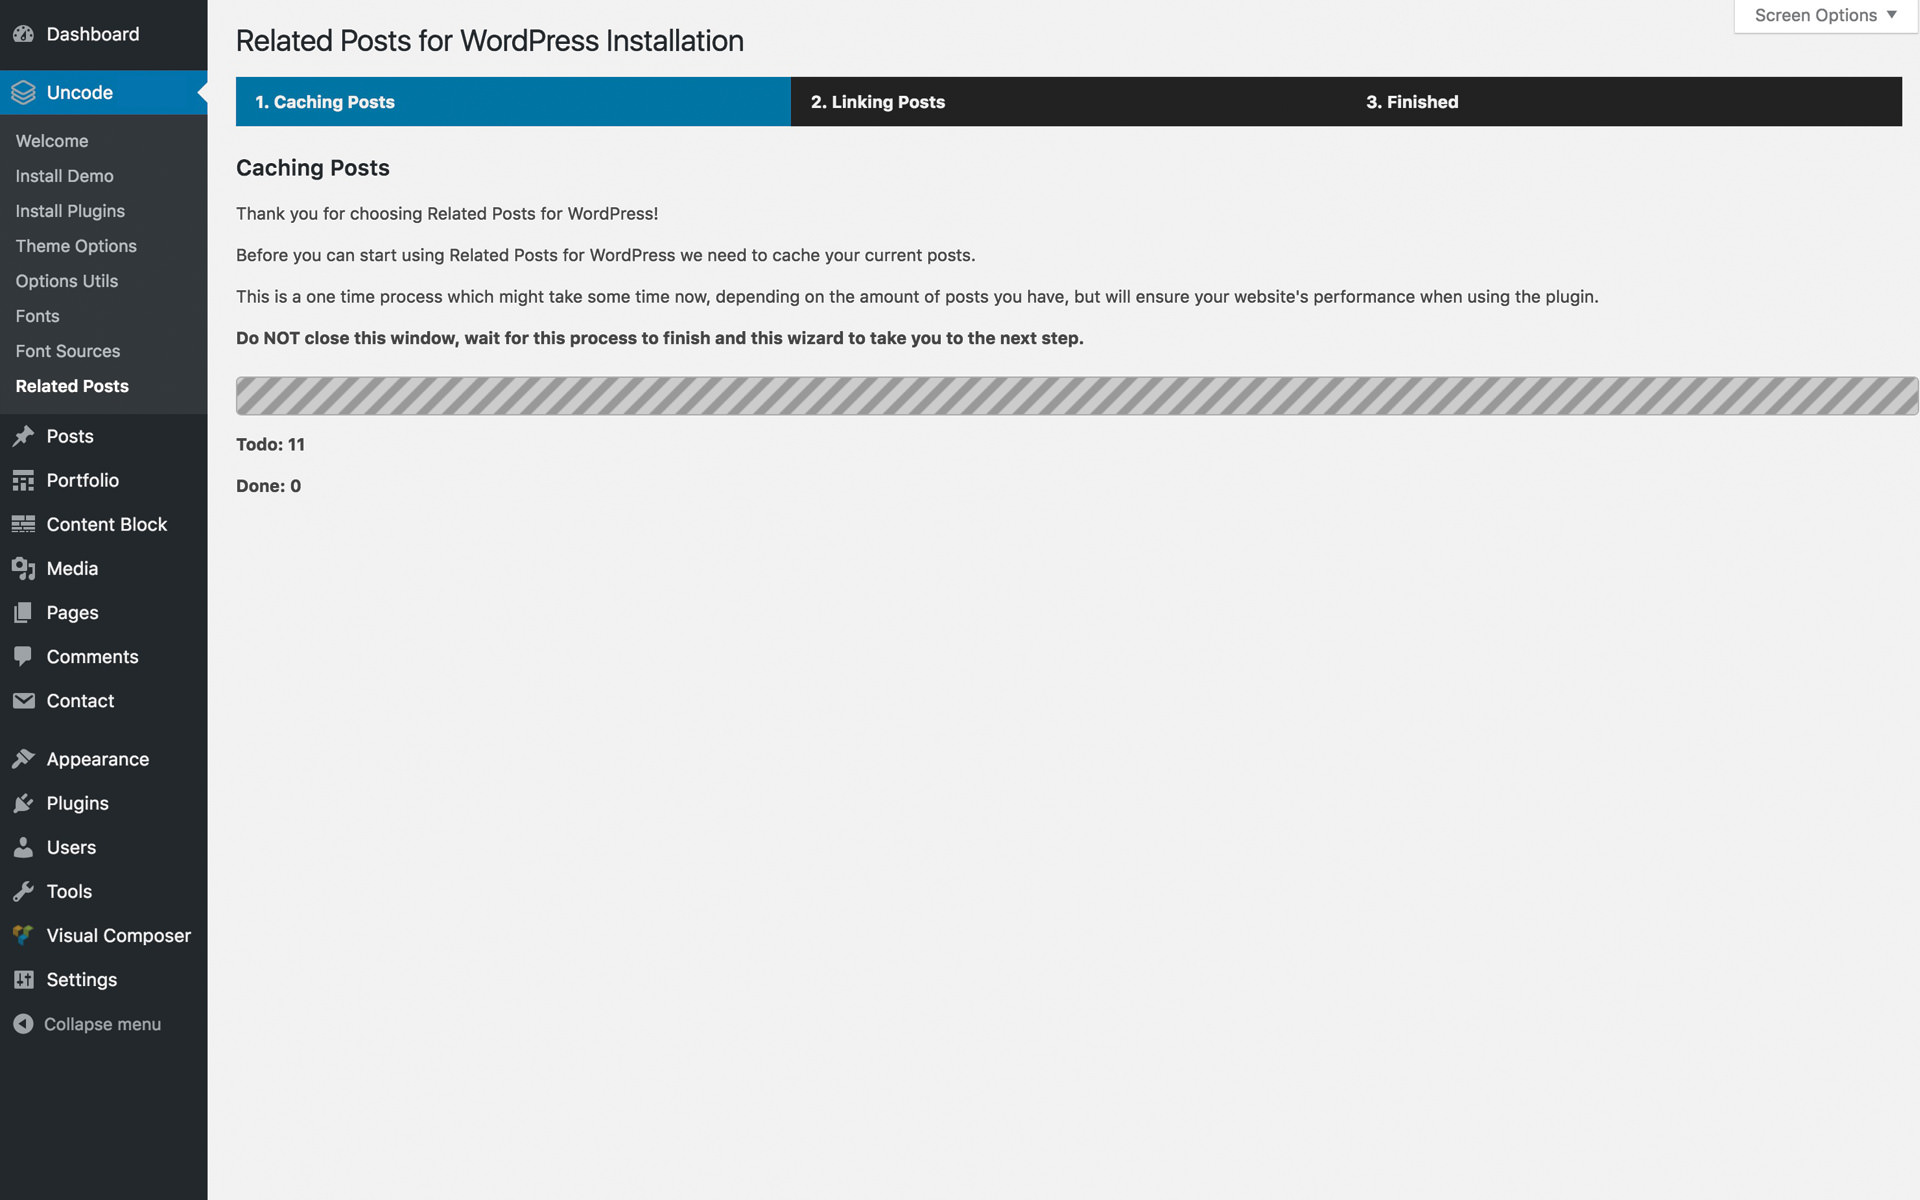
After installing the plugin, you will be directed to a wizard that will analyze your posts and link them to each other based on their relationship. This means you can install Related Posts for WordPress on a website that has thousands of posts and create related connections on the fly, without any manual work.
- Navigate the WordPress Dashboard Plugins → Add New, and search for Related Posts for WordPress, click Install now and activate the plugin. Alternatively, you can download the Related Posts for WordPress from the official Plugins repository.
- After activating the Related Posts for WordPress, navigate to the plugin settings.
- The first step of the wizard is to index and cache your posts, screenshot.
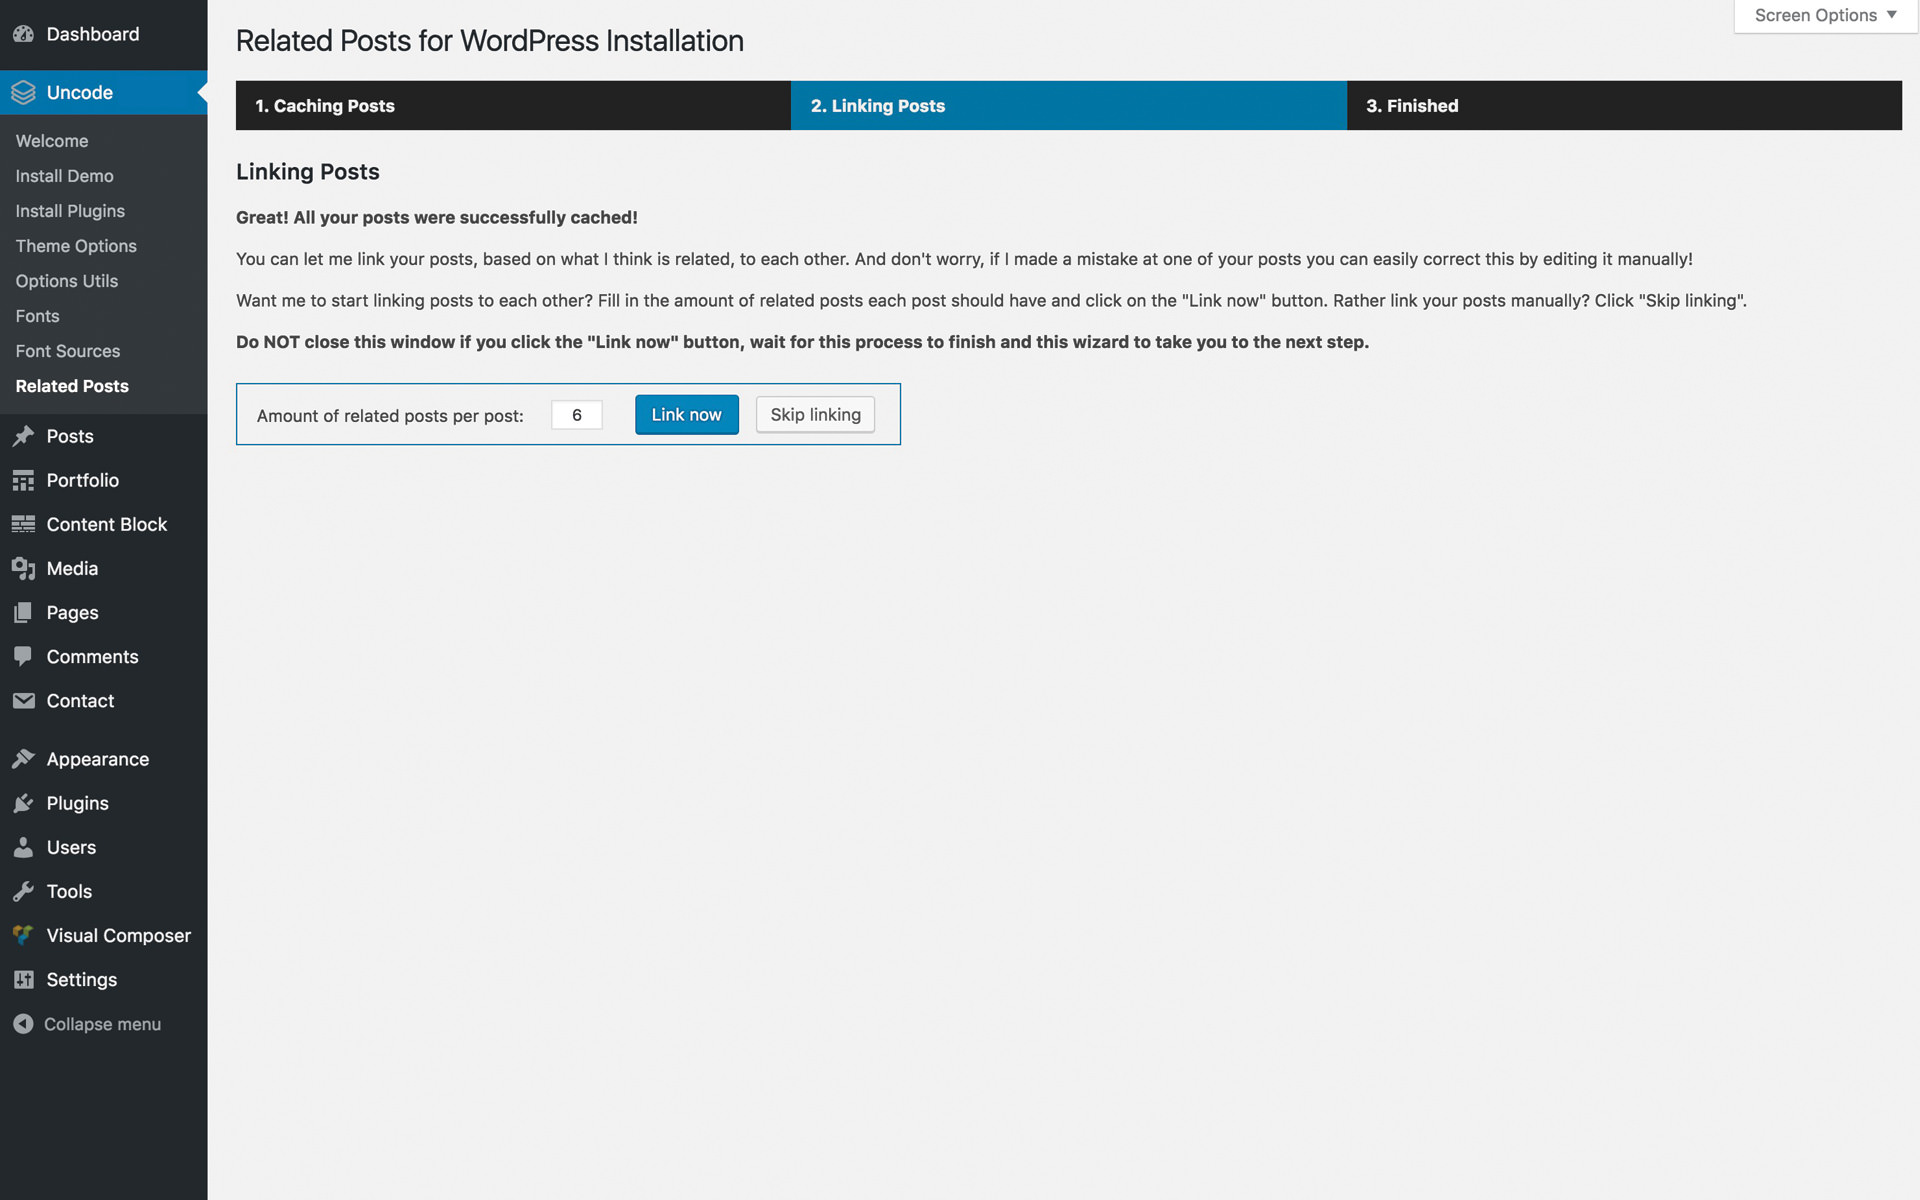
- The second step of the wizard links related posts, screenshot.
- The third step of the wizard verifies that the process is complete, screenshot.
2. Create a Related Posts module
Since Related Posts do not have a preset design, you can visualize them with a Carousel, a Masonry layout, a Metro layout, or any other visualization option you can select from the Uncode options presets to meet your design needs; thanks to the use of the Content Block method, which is similar to creating the archive pages.
- Navigate to the Content Block lists and create a new Content Block.
- Insert a Posts module (optionally a title or any other elements), screenshot.
- Set the Dynamic Query and modify the options of the module to your design needs, screenshot.
3. Connect the Related Posts module
You can choose to activate the Related Posts module globally in the Theme Options, or individually per post, portfolio, or product page using Page Options.
- Navigate to the Theme Options → Post (Portfolio or Product).
- Open the tab Content and in the option named Content Block – After Content set the new created Content Block, screenshot.
4. Manual modification
A manual option is also available to associate and modify posts.
- Navigate to the page you want to modify and locate the Relate Posts inside the module of the page.
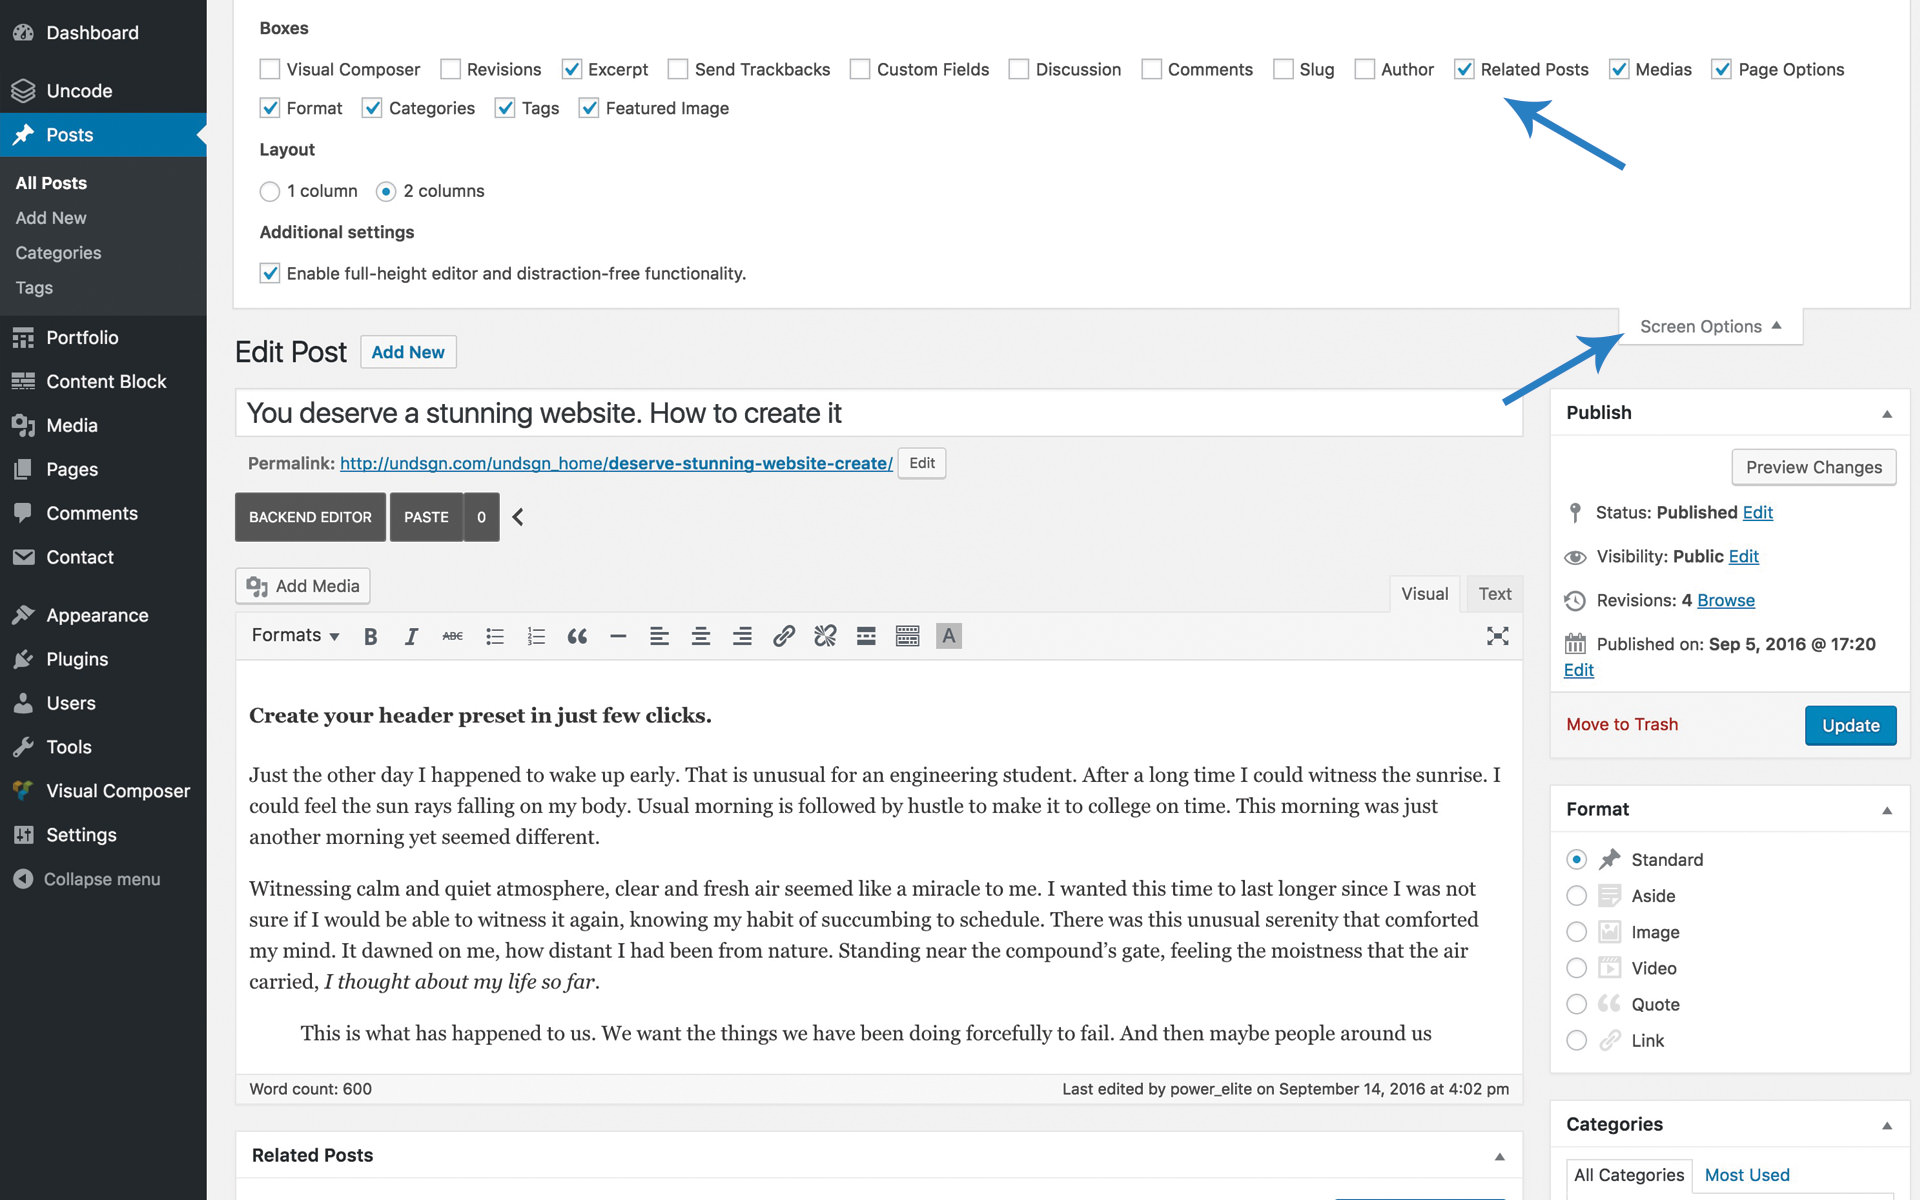
- Navigate to the post that has incorrect related posts attached to it, select the correct related post, reorder them, and you’re done, screenshot.
- if you don’t see the Related Posts list, simply activate it from the Screen Options, screenshot.
5. Rebuild the query
You can easily modify the Related Post options at any times.
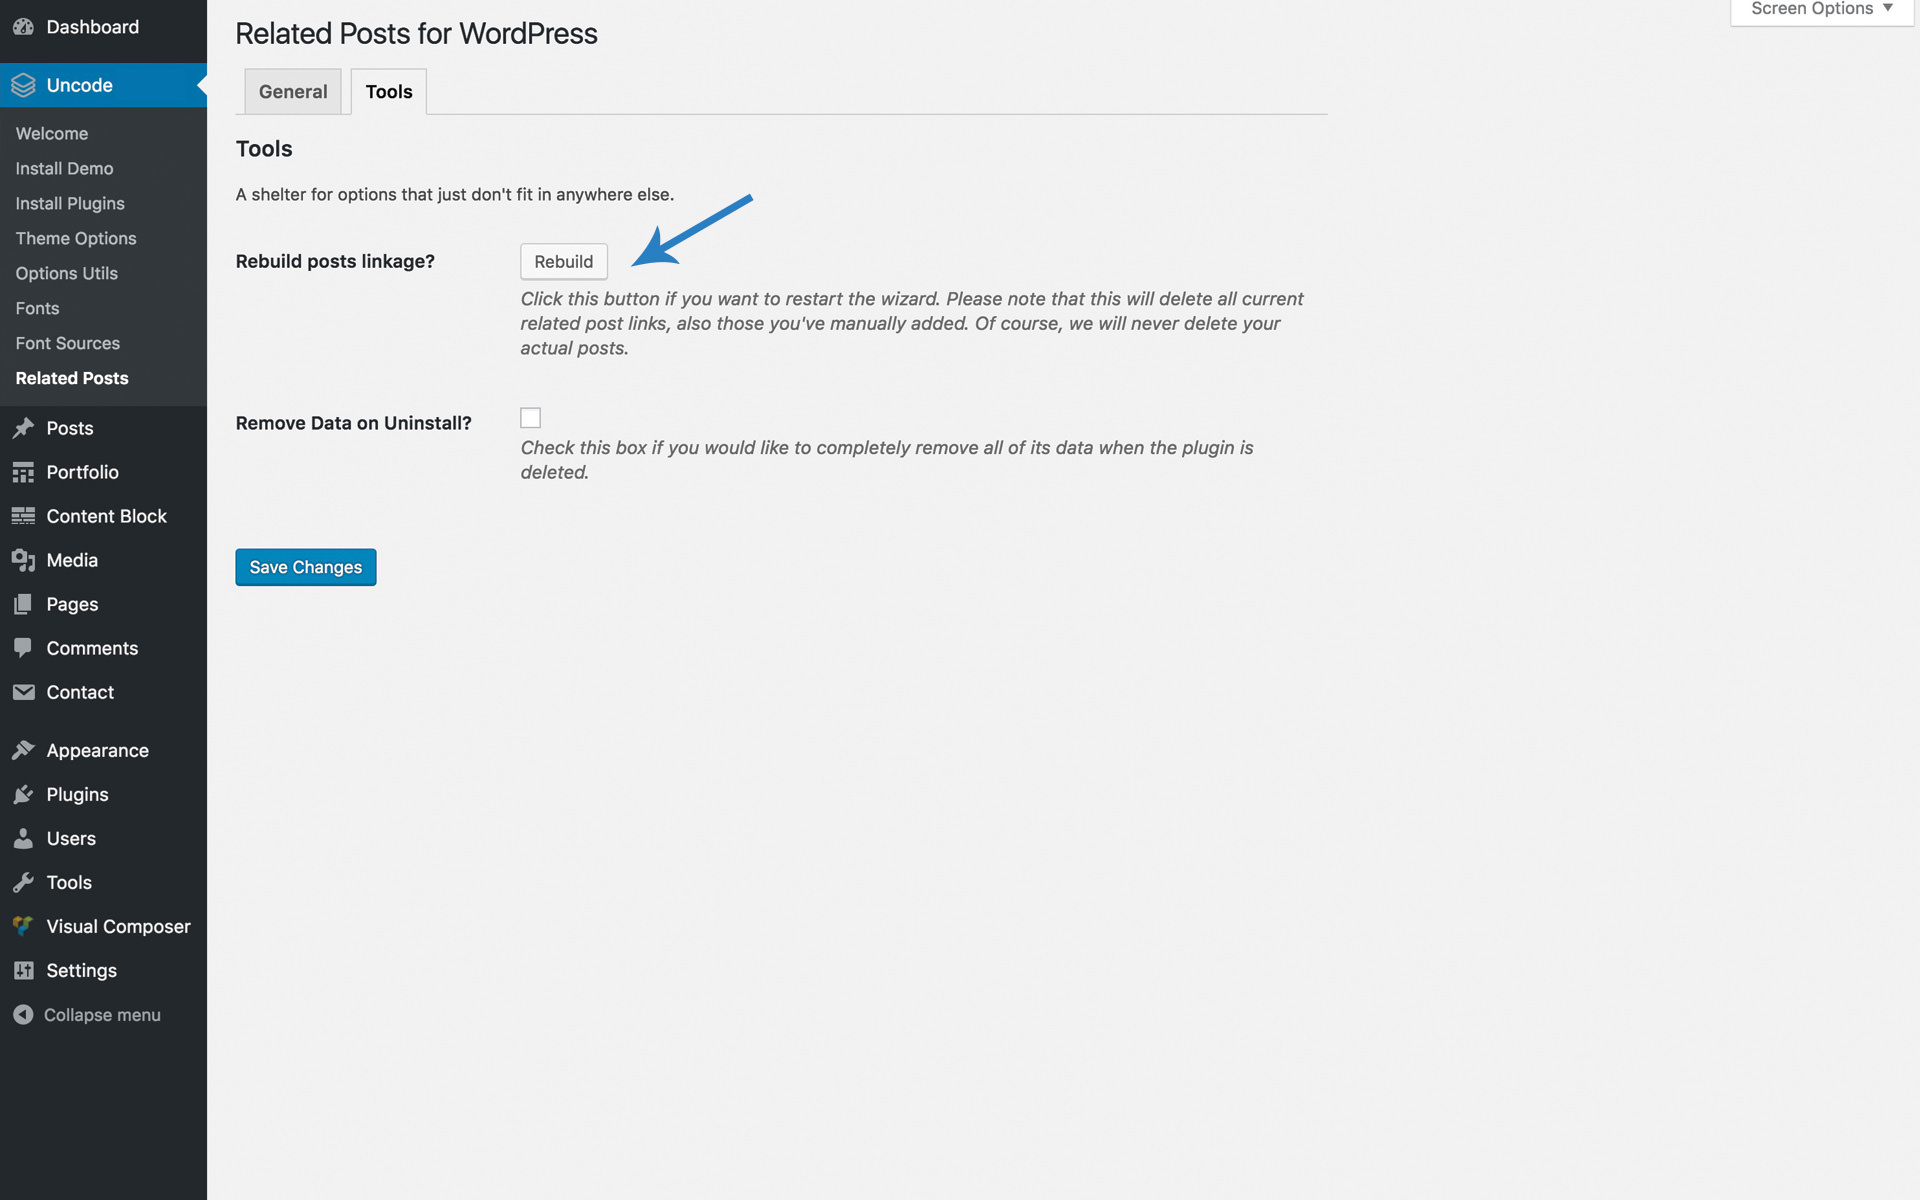
- Navigate to the Uncode → Related Posts.
- In the tab Tools press the Rebuild button to re-activate the wizard set-up, screenshot.

Comments
0 comments
Article is closed for comments.