
 We’ve illustrated how to add custom elements, like fonts and colors, to your personal stack. Now it’s time to begin customizing your website.
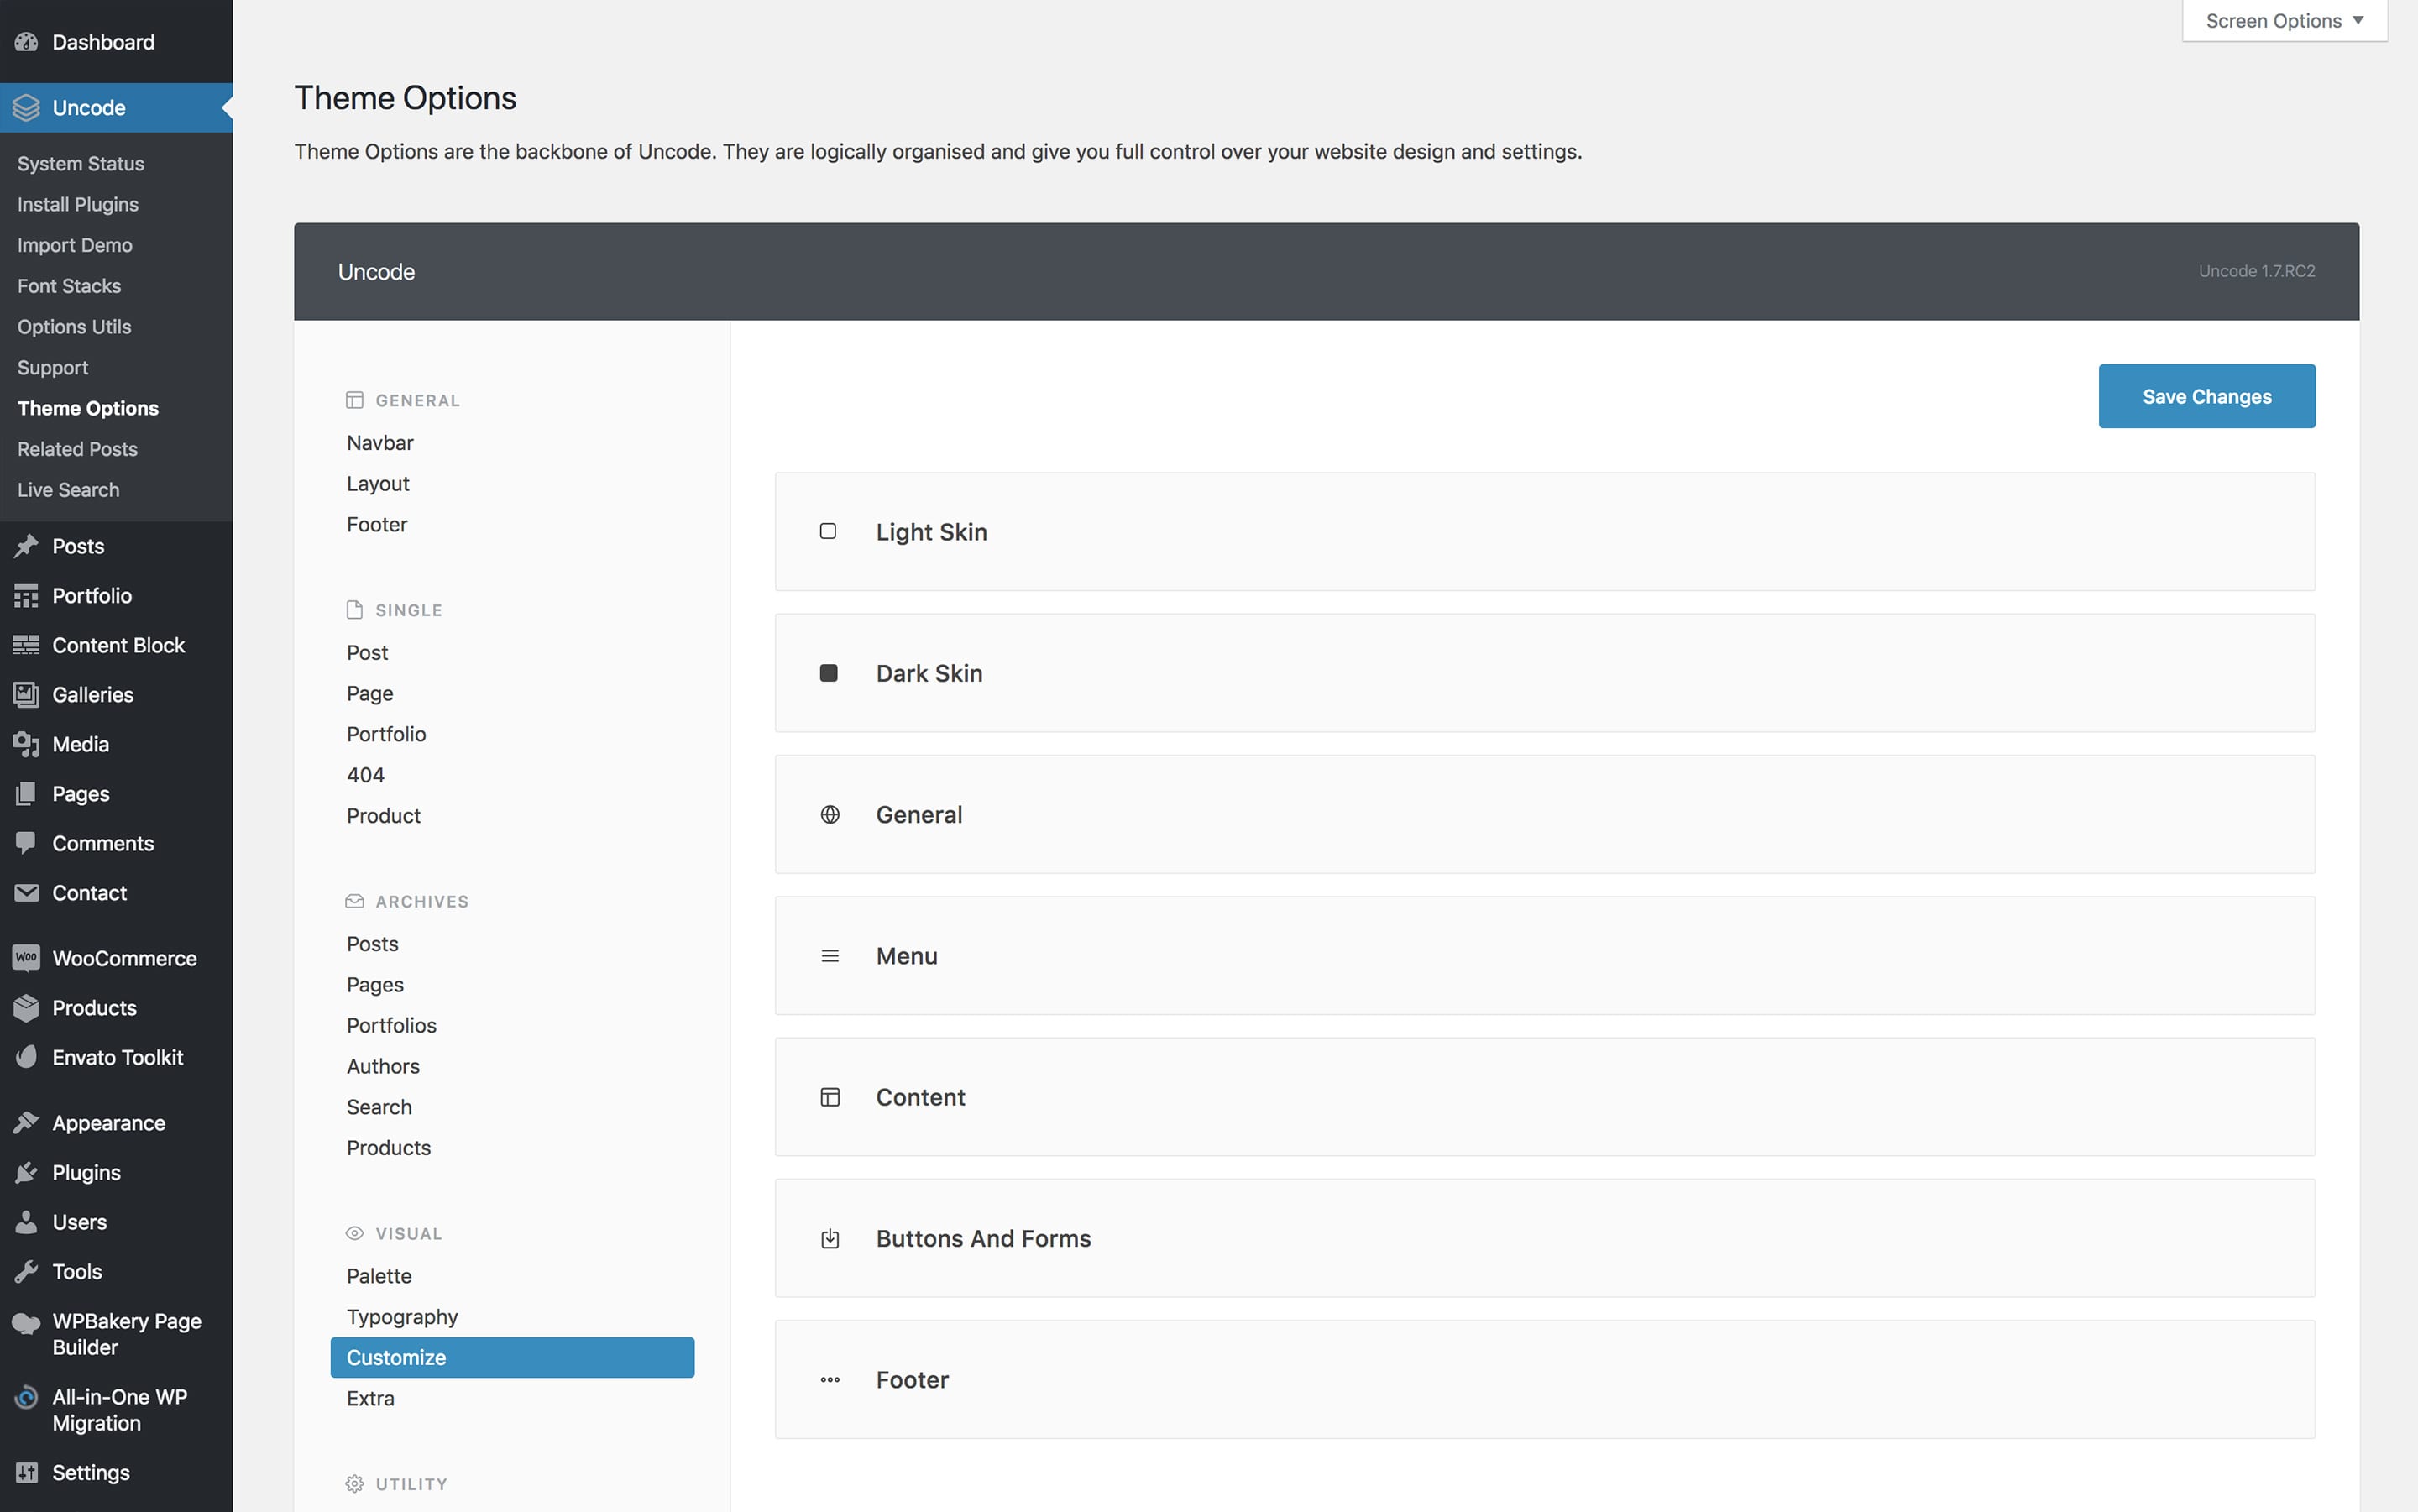
Navigate to Theme Options → Customize. You will see a number of sections from where you can visually customize your website.
Light and Dark skin
While building your website with Uncode, you will often face a choice between Light and Dark skins:
- Light Skin: in the absence of modifications, this refers to dark text on a light background.
- Dark Skin: in the absence of modifications, this refers to light text on a dark background.
You can use Skins in Uncode in many different situations. For example, you can set a column to be light skin (dark text on light background) or dark skin (light text on dark background). You can also use light or dark skins for headers or other elements of your website. The use of skins makes two completely different colors presets available to use on your site.
Transparent Menu automatic skins: the menu section deserves a more detailed explanation. In addition to your choice of color to be used in a menu, you have the option to set a primary menu background opacity. The menu background opacity will only be visible if you are using a Basic header, a Content Block header, or a Slider Revolution Header in the single post/page. In that case, the system will detect the skin you are using for the header, and if needed it will switch the menu skin to ensure optimal contrast. It’s important to properly configure both skins when using the menu opacity feature.
- Light and Dark Skins, detailed info
- Transparent menu automatic Skins, detailed info
General
Under the general section you can customize skin-independent elements.
- HTML body background: Select this option if you want to assign a background image or a background color lying beneath the entire page. This is especially important if you are using the Boxed layout. This option can be overridden in the Page options of single post/page)
- Accent color: Select this option to declare the accent color you want to use for your website.
- Links color: Specify the color of links in page textual contents.
- Body font family: Select this option to define the main font family for the text.
- Body font weight: Select this option to define the main font weight for the text.
- UI font family: Select this option to define the font family UI elements, e.g., post/page navigation.
- UI font weight: Select this option to define the font-weight UI elements, e.g., post/page navigation.
- Headings font family: Select this option to define the font family for the headings tags.
- Headings font weight: Select this option to define the font weight for the headings tags.
- Shadows: select the type of shadows for the elements of your site.
- Cursor: selects a cursor type between Browser (default), Basic, Accent, Asynchronous, Difference.
- Cursor on links: activate the special cursor only when you hover over a link or an element that mimics a link.
Menu
In the menu section, you can select the skin for your menu (the colors are already declared in the Light & Dark skin section), the font family, and the font-weight.
- Menu highlight color: Specify the menu active and hover effect color.
- Primary menu skin: This option selects the skin for the primary menu.
- Primary submenu skin: This option selects the skin for the submenu menu.
- Secondary menu skin: This option selects the skin for the secondary menu.
- Menu font size: This option selects the font size for the primary menu.
- Submenu font size: This option selects the font size for the submenu menu.
- Mobile menu font size: This option selects the font size for the mobile menu.
- Menu font family: This option selects the font family for the primary menu.
- Menu font weight: This option selects the font weight for the primary menu.
- Menu first level uppercase: select this option to transform the first menu level to uppercase.
- Menu others levels uppercase: select this option to transform the menu levels after the first menu level to uppercase.
Content
In the content section you can select the skin for the text in the content area (when not using Uncode WPBakery Page Builder) and the background (this will be transparent if not specified).
- Skin: This option selects the skin for the content.
- Background color: Use this option to choose a custom content background color.
Buttons and Forms
In the buttons section you can select buttons’ font family, font weight and the text transform.
- Buttons font family: Use this option to select the font family for the buttons.
- Buttons font weight: Use this option to select the font weight for the buttons.
- Buttons text transform: Use this option to select the text transform for the buttons.
- Buttons letter spacing: Specify the letter spacing value.
- Buttons and form field border: Specify the width of the borders for buttons and form fields.
- Button hover effect: Specify an effect on hover state.
Footer
In the footer section you can select the skin text color and a custom background for the automatic copyright area.
- Copyright area skin: Use this option to specify the copyright area skin color.
- Copyright area custom background color: Use this option to specify a custom copyright area background color.
Scroll & Parallax
- ScrollTo Constant Speed: Activate this to always have a constant speed when scrolling to point.
- ScrollTo Constant Speed Factor: Adjust the constant scroll speed factor. Default 2
- Parallax Speed Factor: Adjust the parallax speed factor. Default 2.5

Comments
0 comments
Article is closed for comments.